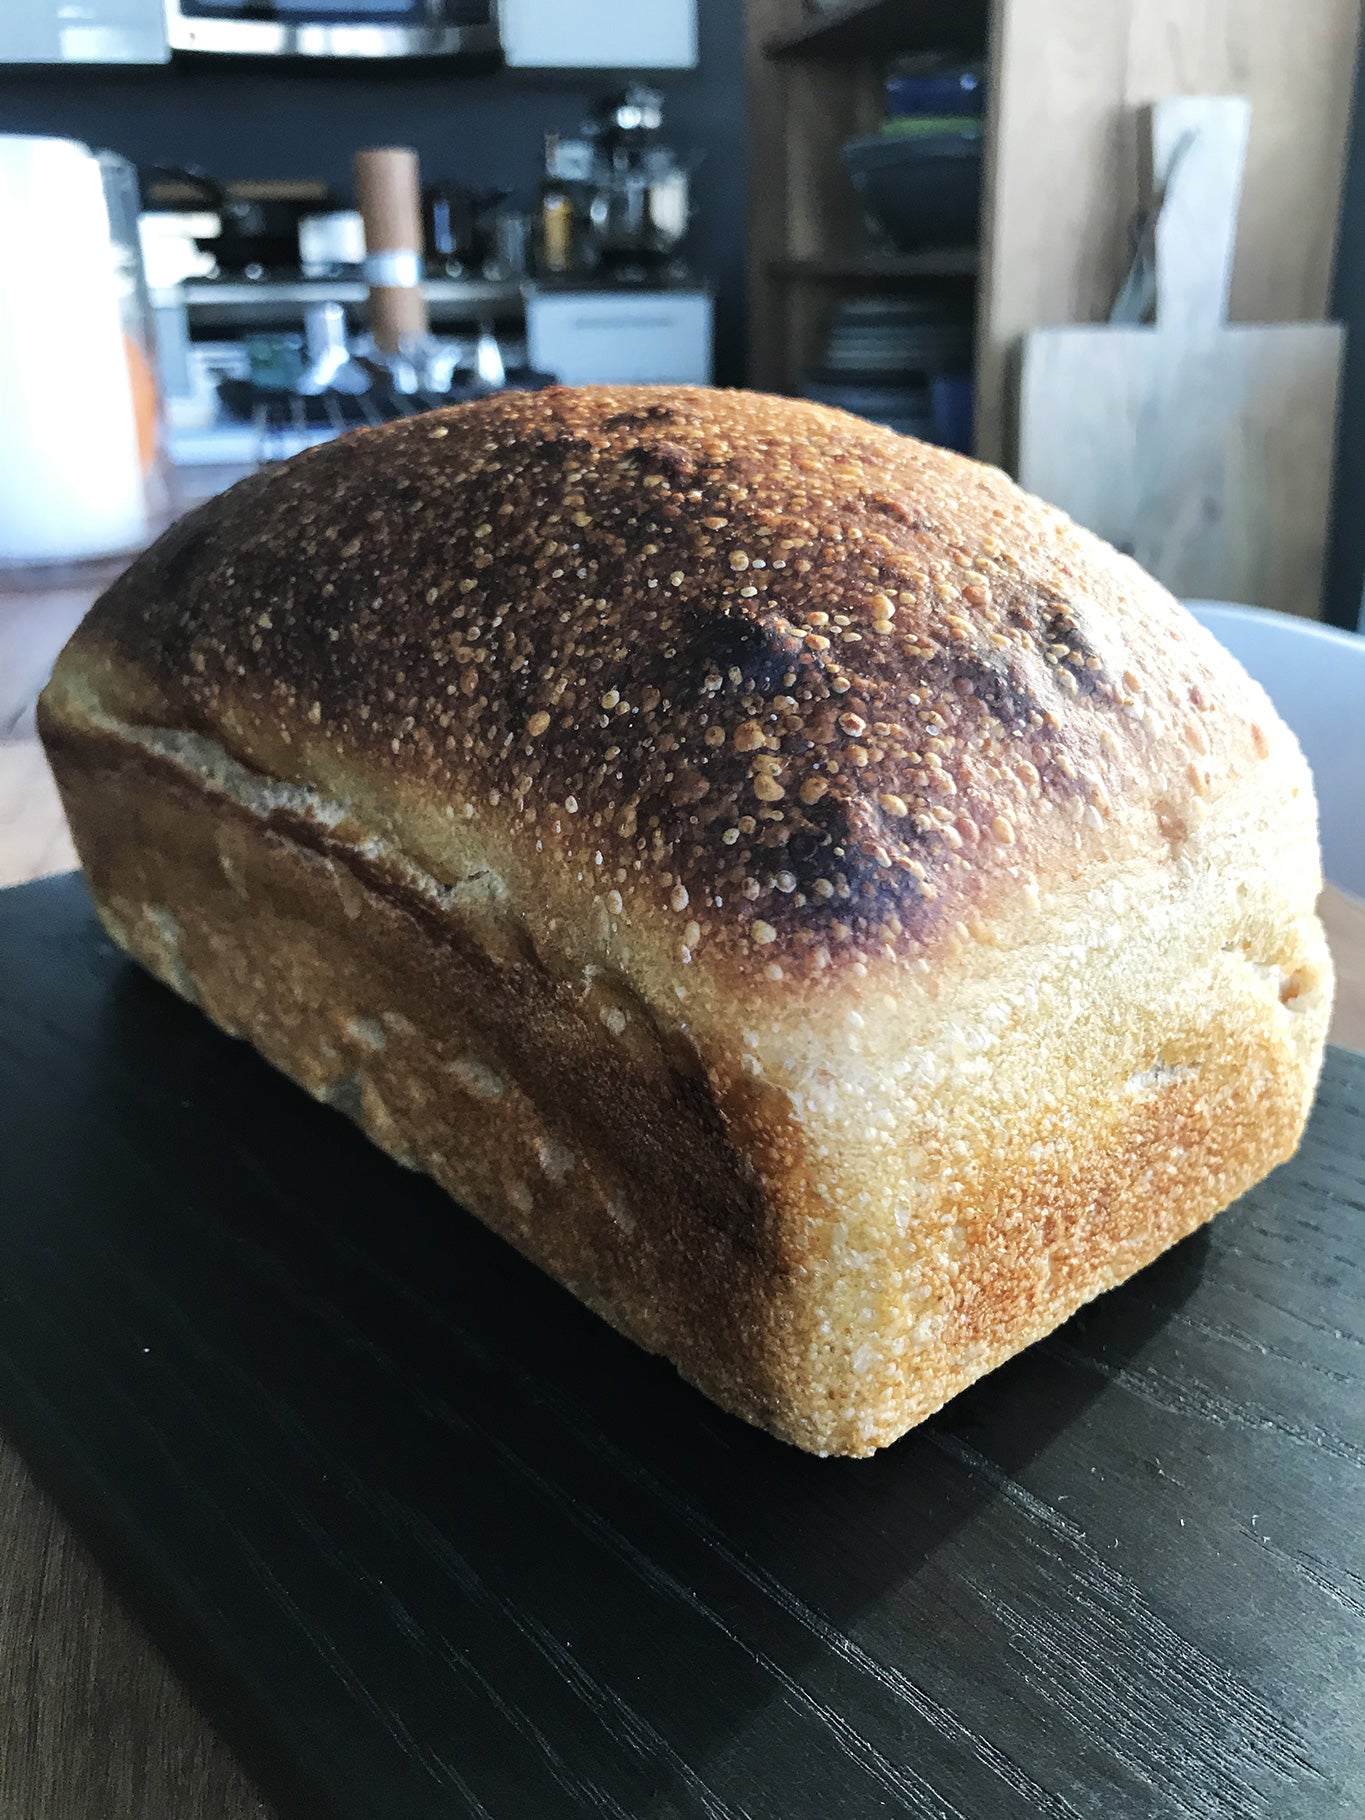
The Simple Sourdough Tin Loaf of Your Dreams
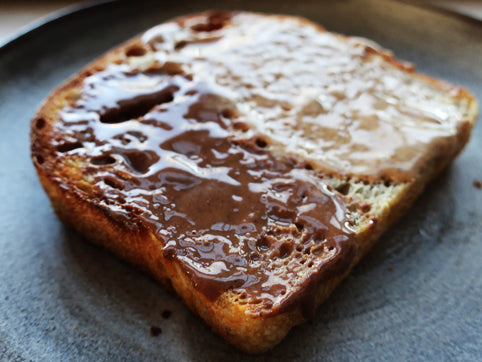
I make a lot of sourdough bread. An absurd amount really. But I also eat a lot of sourdough bread. For breakfast. With dinner. A slice dipped in olive oil and covered in shaved Pecorino Romano for a midnight snack.
Most of the time I tend to make boule-like shaped, hearth-style sourdoughs (i.e. the kind you drop and bake in a large Dutch oven), but lately I have been obsessing over the perfect and simple tin loaf. In theory, I thought it was as easy as using a basic sourdough recipe (scaled to fit a loaf or Pullman-type pan) and plopping it into the new form – but, alas, as with all things sourdough it is never as simple as it first appears. Granted, the switch from Dutch oven to loaf form is not super difficult, it just requires a few tweaks (see below for details).
I have made a fair amount of tin-loaf recipes over the past year, but my favorite (and really, easiest) – the one that really makes the best toast slice you will ever have – comes from my current new obsession: Sourdough by Casper André Lugg and Martin Ivar Hveem Fjeld. I have reprinted – to the best of my ability – their recipe below (and I highly recommend you take a crack at their 50% spelt sourdough recipe as well) though I did not take you through all of the classic sourdough steps (they are lengthy and, if you are already familiar with sourdough baking, quite repetitive). If you are familiar with the Tartine style method, this method is nearly exact.
And if you need a Tartine refresher – a VERY detailed one at that – I highly recommend you take a read through of this New York Times posting. If you are a sourdough newbie and need help on how to make a starter, check out this excellent post over on The Perfect Loaf.
Before we begin – a few notes:
-I typically use an overnight leaven, but the Sourdough book uses a pretty “young” leaven (about 3 hours) for all of their recipes. I was skeptical at first. Not anymore. The bread still has a nice sour, yet you can still taste the grain, and it really works well with my schedule.
-My first few attempts at this loaf were haphazard. The bread was always delicious (and I thought it was always at optimum proof), but because you do not score this loaf, I often ended up with weird scars a la a forced oven spring. To combat this, I kept the cold fermentation long, longer than I felt comfortable with – about 18 hours – and made sure the bread rose just a hair above the pan.
-Since you do not cover the pan, it is a good idea to introduce some steam into your oven. I pour boiling water into a half sheet pan on a lower rack right before sliding the loaf in (obviously in a rack above the sheet pan).
-My apartment is cool in the winter so I tend to put my dough in the oven with only the oven light on, in between the stretch and fold cycles.

Tin Loaf from Sourdough by Casper André Lugg and Martin Ivar Hveem Fjeld
Ingredients
(for the “young” leaven)
40 grams mature starter
30 grams water at 30℃ (85℉)
15 grams fine wholegrain wheat flour
15 grams strong white bread flour
(for the bread dough)
100 grams fine wholegrain wheat flour
400 grams strong white bread flour
400 grams of water at 30℃ (85℉)
10 grams finely ground sea salt
100 grams leaven (you will use the entire leaven/no excess)
Set the Leaven
Mix the starter (which has been at room temperature for at least 6-24 hours), the water, the wheat flour and the bread flour in a large-ish bowl (ideally, you will be making and folding the bread in the same bowl). Mix well, cover the bowl and allow the leaven to mature for 2-4 hours in a warm spot in your house.
Make the Tin Loaf
Grease a 1kg/2lb loaf pan with rapeseed/canola oil. I love this pan btw. Set aside.
Pour the 400 grams of water into the bowl with the leaven. Dissolve the leaven in the water with your fingers. Add the flour. Mix it all together with your hands. Gather the dough by scraping down the excess from the edges with a spatula. Cover the bowl with a kitchen towel and let it sit for an hour.
Pinch In the Salt
Sprinkle the salt over the dough. Use your thumb an forefinger to pinch the dough together. Do this a few times until the dough begins to tighten and it becomes harder to pinch. Video example below. Let the dough rest for 30 minutes.
Stretch and Fold
Dip your hand in a bowl of warm water, then push your fingers between the dough and the side of the bowl and grab the underside of the dough. Stretch it slightly and fold it over. (I think this video does a good job of showing the simple basics of the stretch and fold method). Repeat this process, working your way around the bowl, 5 to 8 times. Cover and let rest for 30 minutes. Repeat the stretching and folding twice at 30 minute intervals. After the last folding allow the dough to rest until it has increased in volume by about a third, about one hour.
Shape
Scrape the dough onto a well-floured surface. Use the dough scraper to fold the dough over itself a few times from different sides, and then all the way around so that it folds face down on the table. Use the dough scraper to firm up the dough by pushing it around from different angles. The dough should stick slightly to the table while you do this, so that it becomes taught and has thick edges. Sprinkle flour over the dough and let it rest for 20 minutes.
Final Shape
I shape this dough like any other sourdoughs and I highly recommend a video or photo tutorial (the pictures in this book provide step-by-step instructions), but in essence, you should flip the dough over so that the floured part is face down on the floured surface. Grasp the top of the dough and fold it in towards the center. Grasp the left side of the dough and fold it in towards the center, the do the same with the right side and finally the underneath until you have a square. Grab one corner, stretch it gently and fold it in towards the center. When all four corners are folded in, grasp the topside and flip the dough over so the seam is down against the surface and the smooth side is facing up. If the dough feels loose, tighten it up with the dough scraper. Video example below. Lift the dough and place seam side down in the oiled pan. Cover the pan in plastic and refrigerate (cold proof) for about 18 hours. The bread will rise just a hair above the pan.
Baking
Organize your oven so one rack is in the middle, with another rack directly underneath it. Place a half-sized baking sheet on the lower rack. Turn the oven to 500℉ (260℃). Allow the oven to warm up for 45 minutes. About 40 minutes into the preheat, boil some water in a teakettle. Around the 45 minute mark, open the oven and carefully pour the boiling water into the sheet pan. Take the bread from the refrigerator, remove the plastic bag, and place on the rack directly above the sheet pan. Reduce the temperature to 470℉ (240℃) and bake for 20 minutes. When the timer goes off, reduce the temperature to 450℉ (230℃) and bake for another 20 minutes. Very carefully, remove the bread from the pan and place it directly on the rack on one side and bake for 3 minutes, turn it over to the other side and bake for another 3 minutes. This will produce a dark, crusty exterior. Remove and let cool for at least 4 hours before slicing.