How to Make Buttery Basic Brioche
In these long, sweaty, hazy, lazy days of mid-July if you happen upon a weekend when you’re not up to much – how about trying your hand at bread baking? It requires little effort on your part and the warm air is great for quick rising times – not to mention it’s incredibly satisfying.
And hey, one day you might just be lucky enough to be invited somewhere with a pool (or at least central air) and at that point and you should probably make something real nice for those sweet people. Bread might not be the first thing on your mind but nothing is more heartfelt. Make it buttery and delicious and useful at any meal of the day… make it brioche.
As with any recipe, give the following a read through so you can plan your time accordingly. Personally, there’s nothing I dislike more than starting to make bread (or any dough that has to rise) and then having to set the timer for the middle of the night to punch/knead/bake. Sheesh.
*A note about brioche – it’s supposed to be a wet, soft dough – try not to add too much flour!
Ingredients
For the Sponge/Starter
2 Tablespoons room temp water
1 Tablespoon sugar
¼ teaspoon instant yeast
½ cup unbleached AP flour
1 large egg
For the Dough:
1 cup + 1 ½ T unbleached AP flour
2 Tablespoons sugar
1 ¼ teaspoon instant yeast
½ teaspoon salt
2 cold large eggs
8 Tablespoon unsalted butter, very very soft, cut into pieces
For the Glaze:
1 egg yolk
1 Tablespoon cream or milk
Day 1 – make the sponge – In bowl of a stand mixer place the water, sugar, instant yeast, flour, and egg. Whisk by hand until very smooth, to incorporate air, about 3 minutes. The sponge will be the consistency of a very thick batter. (At first the dough may collect inside the whisk, shake it out and keep whisking.) Scrape down the sides of the bowl and set it aside, covered with plastic wrap.
make the dough – In a small bowl, whisk the flour with the sugar and yeast. Then whisk in the salt (this keeps the yeast from coming in contact with the salt, which would kill it). Sprinkle this mixture on top of the sponge. Cover it tightly with plastic wrap and let it stand for 1 hour at room temperature and then refrigerate it overnight. During this time, the sponge will bubble through the flour mixture in places; this is what you want. Day 2 – continue making the dough – Add the 2 cold eggs and place the mixing bowl on the stand mixer fitted with the dough hook. Mix on low speed for about 1 minute or until the flour is moistened. Raise the speed to medium and beat for 2 minutes. Scrape the sides of the bowl with an oiled spatula and continue beating for about 5 minutes longer or until the dough is smooth and shiny but very soft and sticky. It will mass around the dough hook but not pull away from the bowl completely.
Add the soft butter by the tablespoon, waiting until each addition is almost completely absorbed before adding the next tablespoon. Beat until all the butter is incorporated. The dough will be very soft and elastic and will totally stick to your fingers, but don’t be tempted to add more flour at this point; it will firm considerably after chilling.
 Using a dough scraper, gather the dough into a ball and transfer it to a lightly greased bowl (olive oil). Lightly dab the top of the dough with a little oil, cover in plastic wrap and let it rise.
 Allow the dough to rise until doubled, 1 1/2 to 2 hours. Refrigerate the dough for about 2 hours to firm it; this will prevent the butter from separating.
Turn the dough out onto a well-floured surface and press or roll it into a rectangle, flouring the surface and dough sparingly but as needed to keep it from sticking. Give the dough a business letter turn, brushing off any excess flour, and again press down or roll it out into a rectangle again. Rotate it 90 degrees so that the closed side is facing to your left. Give it a second business letter turn and round the corners. Dust it lightly on all sides with flour. Deflate the dough, then press or roll the dough into a rectangle about 7 1/2 inches long and 5 inches wide. Roll it down from the top in 3 turns, being sure to brush off any excess flour, pressing with your thumbs to seal the dough. Place it seam side down in an oiled loaf pan, pressing it down firmly. Cover it lightly with oiled plastic wrap and allow it to rise until the top of the dough reaches the top of the pan, 1 1/2 to 2 hours. Preheat the oven to 350°F 30 minutes prior to baking. Position an oven shelf at the lowest level and place a baking stone or baking sheet on it before preheating.
make the egg glaze (for an awesome shine)- In a small bowl whisk together the egg yolk and cream. Brush the top with the egg glaze (careful not to get the sides of the pan or the bread will not rise in those places). With a very sharp knife make a 1/4 inch deep lengthwise slash in the dough, starting about 1 inch from one end of the pan and going to within 1 inch of the other end right before placing it in the hot oven.
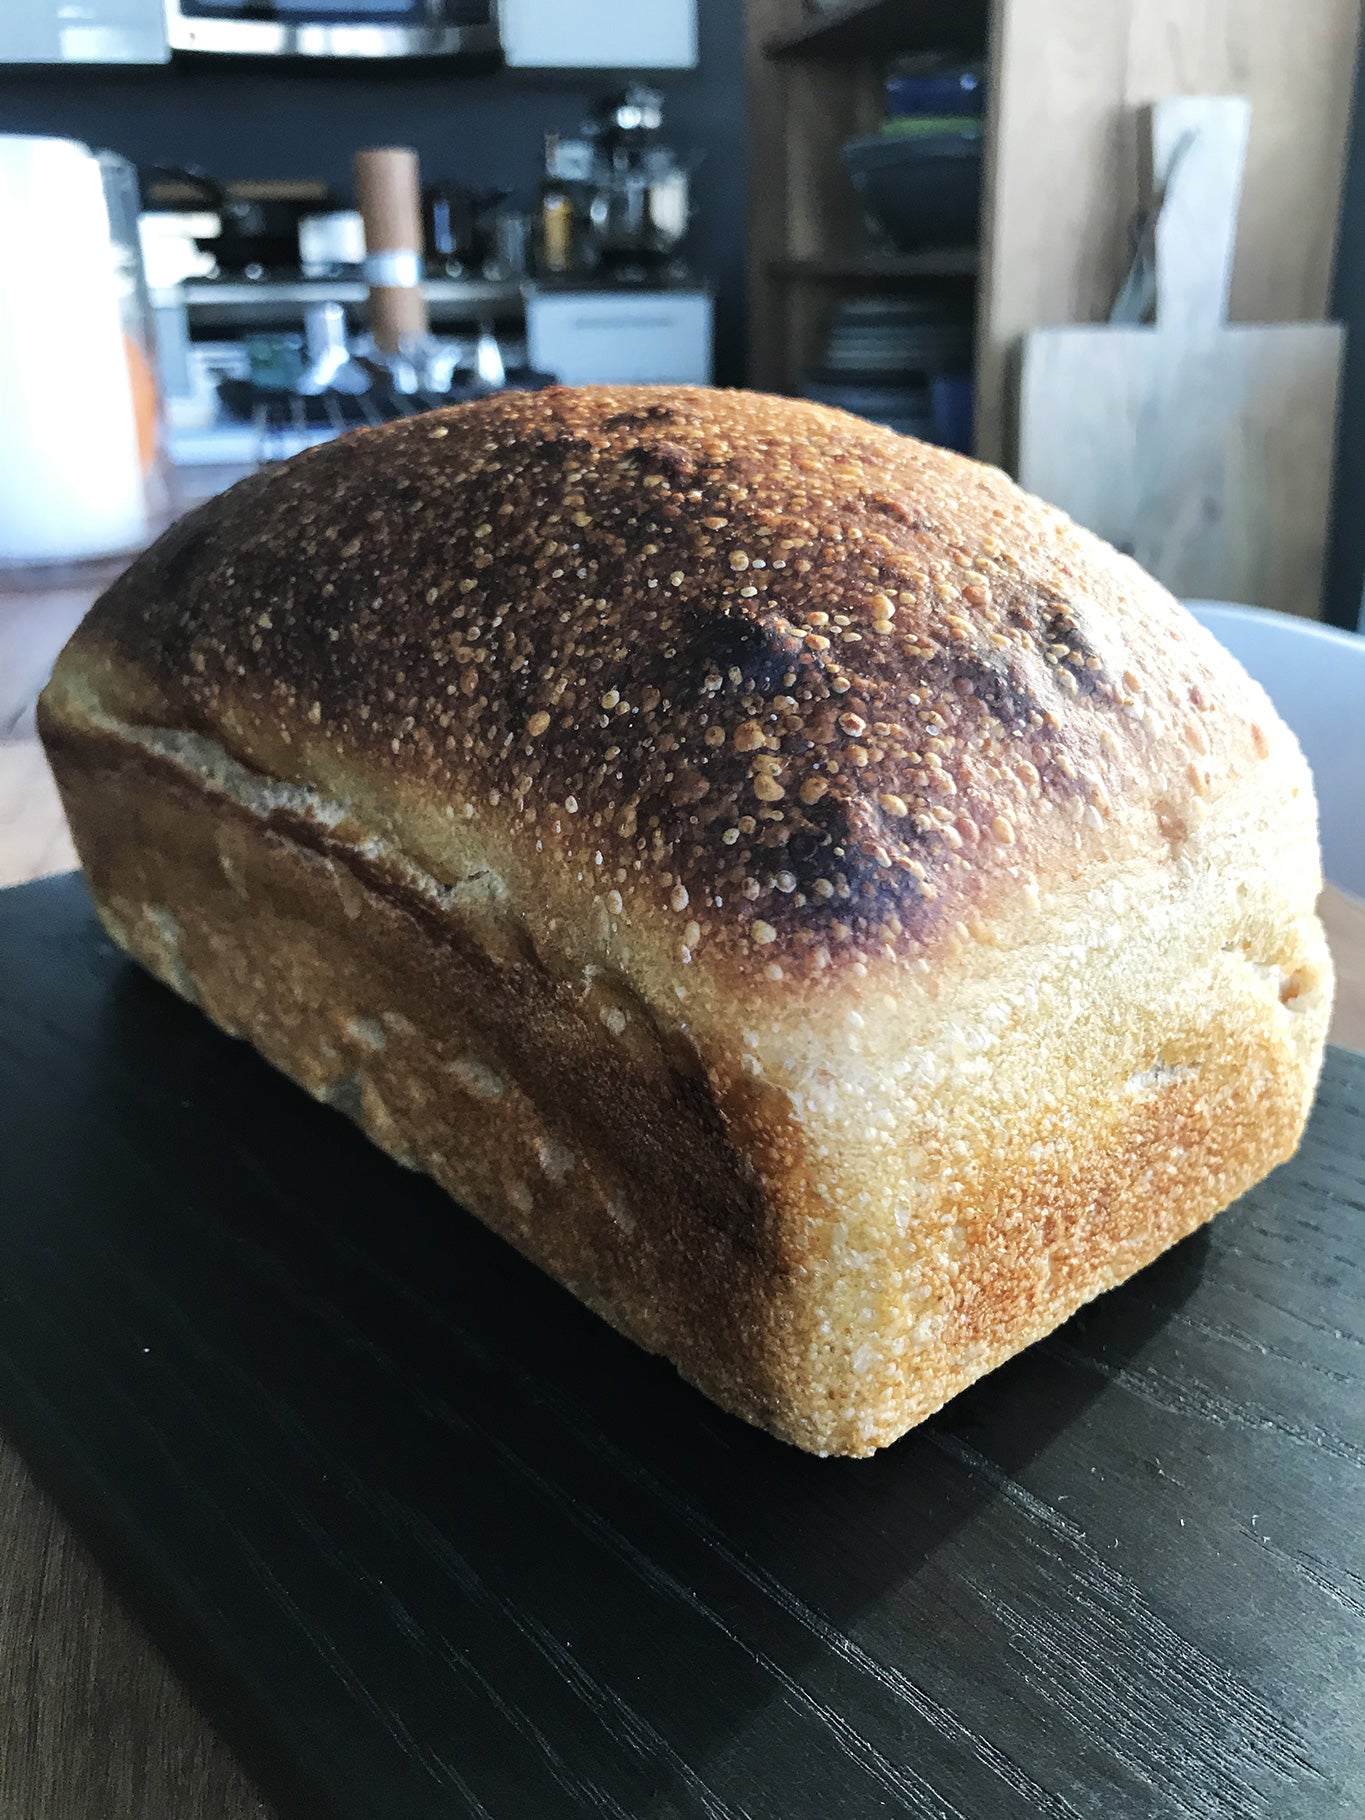
Set the pan on the hot stone or hot baking sheet. Bake for 35 – 40 minutes or until golden brown and a skewer inserted into the center comes out clean (an instant-read thermometer inserted into the center will read about 190°F).
 Let the loaf cool a couple hours before sinking your mits into it. We know you want that buttery goodness but come on…let it rest – and you were making this as a gift, remember?
*This recipe is adpated from the lovely Rose Levy Beranbaum. The original recipe appears in her book, The Bread Bible

