How To Make Chestnut bread
“I’m so glad I live in a world where there are Octobers. It would be terrible if we just skipped from September to November, wouldn’t it?” exclaims Anne in an early chapter of Anne of Green Gables. Well, Octobers in Copenhagen are just about the polar opposite of those at Green Gables. No crimson maple leaves, birches as golden as sunshine or fields sunning themselves here. Instead, we have blustery days, low light and bursts of rain that can leave you soaked to the bone before you’ve barely set a foot out the door. I say skip from October straight to May!
If it weren’t for chestnuts, that is. You see, I have a deep, enduring love for chestnuts. It is a passion that dates back to early childhood, growing up in Germany, where roasted chestnuts are a common treat. There, and across much of central and southern Europe, chestnuts are mostly sold by street vendors, who roast them over open fire pits in large blackened pans before shoveling them into paper bags and handing them to passers-by, who in turn stuff them in their coat pockets to keep their hands warm. But chestnuts are not only great straight from the roasting pan. Have you tried them caramelized and served alongside game? Or pureed into a hearty soup of Brussels sprouts? And what about Mont Blanc, the eponymous mountain of chestnut cream that’s found at pastry shops across France (and apparently in Taipei, too)? Or castagnaccio, a dense, rich cake traditional to the Ligurian coast? If not, you are missing out. Honestly, go try them all now. But first, make chestnut bread.
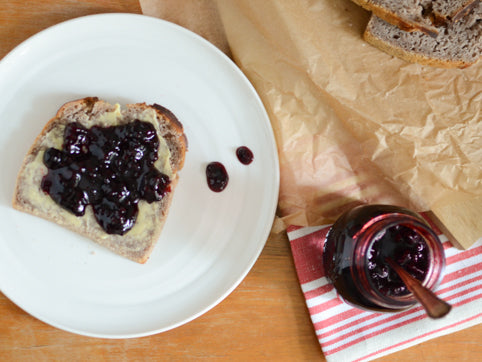
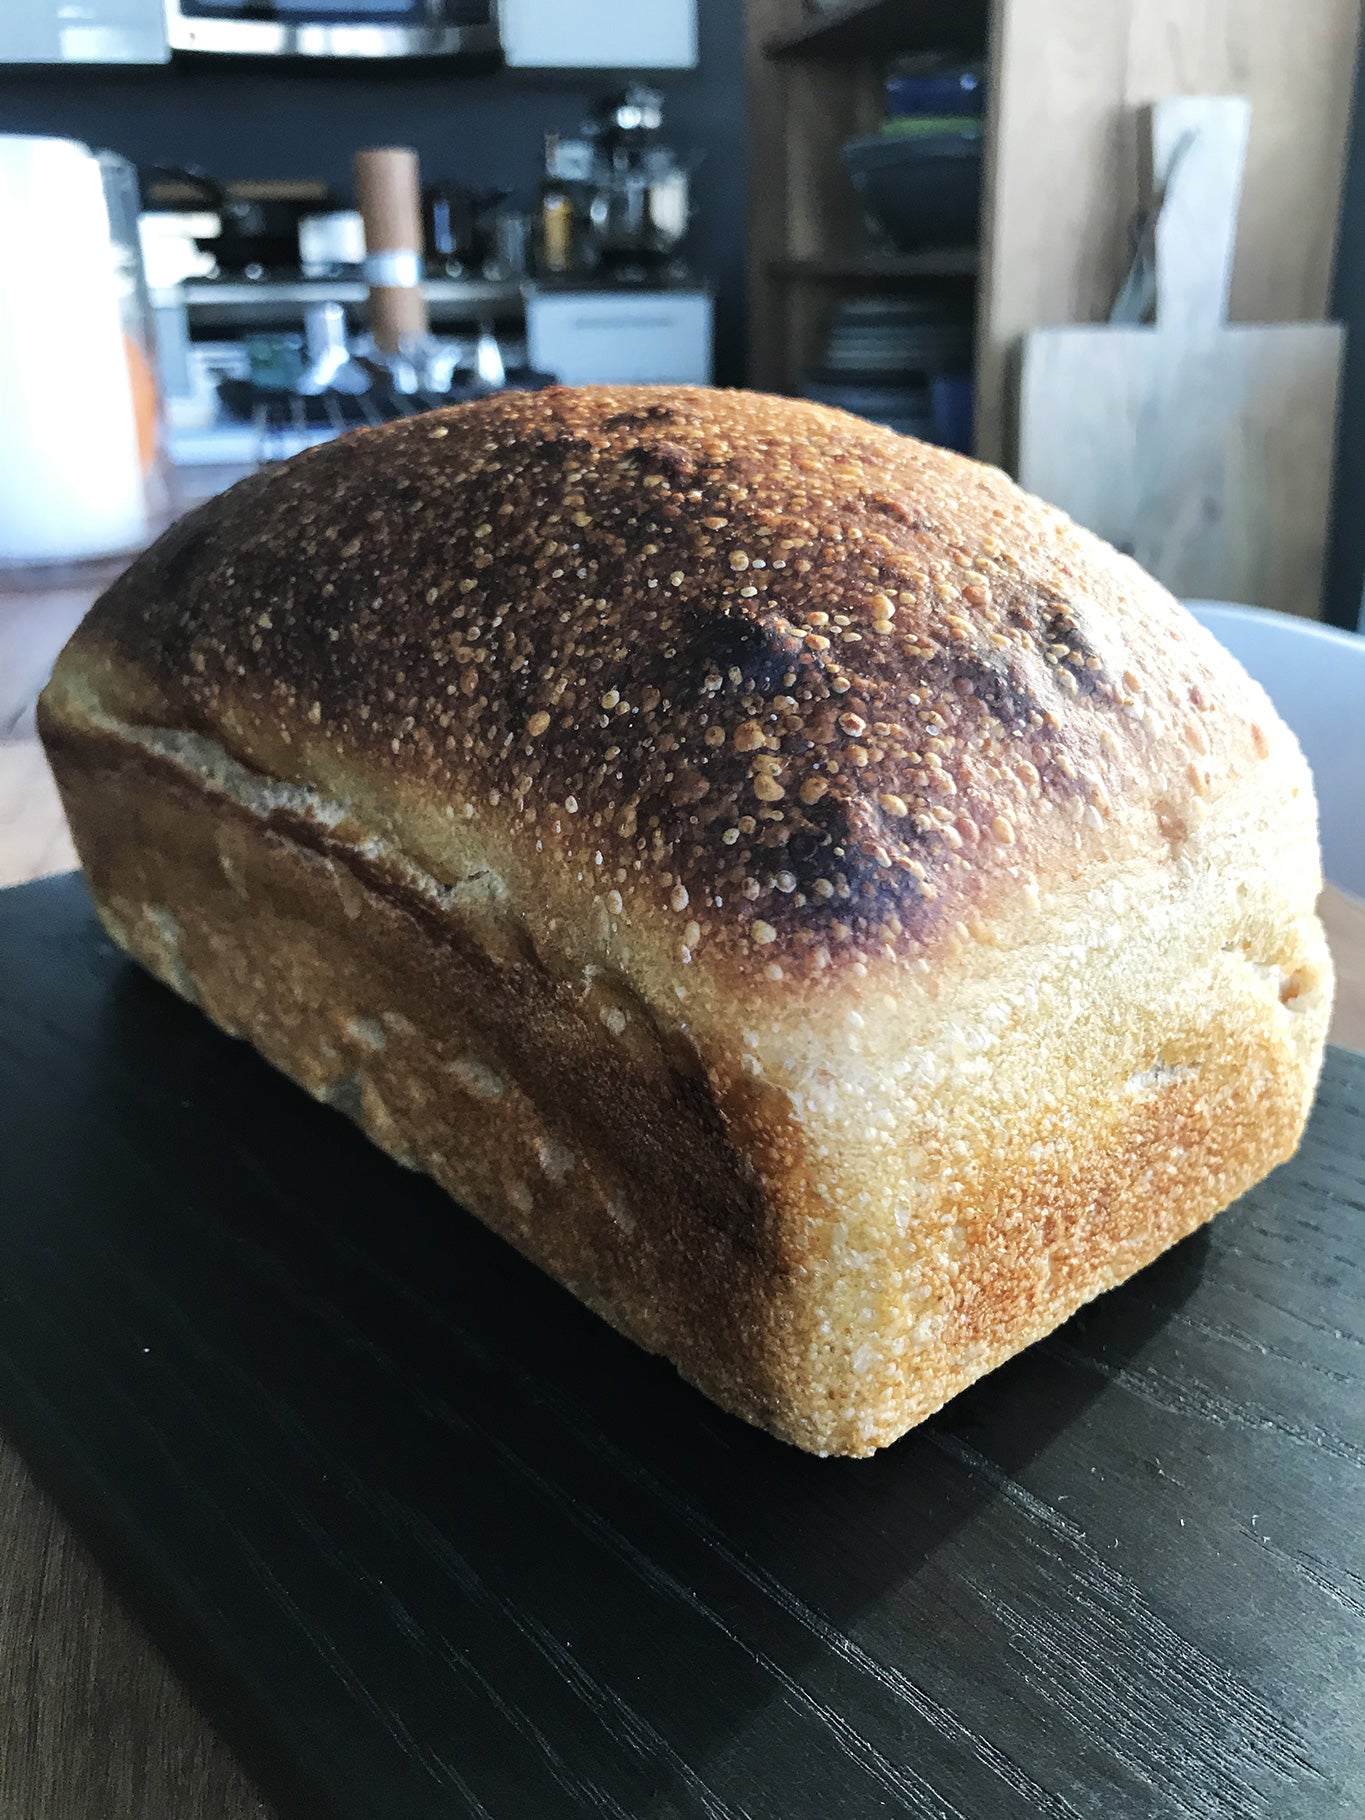
Last year, during a trip to Italy, I picked up a bag of chestnut flour. Unsure what to do with it, I stacked it at the back of my cupboard and promptly forgot all about it. Until I picked up a back copy of the Danish food magazine Mad & Venner, which included a recipe for chestnut bread. Of course, I had to try it, and I’m so glad I did. Despite the fact that only a relatively small fraction of the flour in this bread is chestnut flour, it imbues an unmistakable flavor: hearty, warm and nutty, a little sweet, but not overtly so. It has wonderfully soft and tender texture, and a slight chew from the sourdough. I think it would be delicious with a strong blue cheese, but honestly, I ate most of it straight up with butter and a bit of jam.
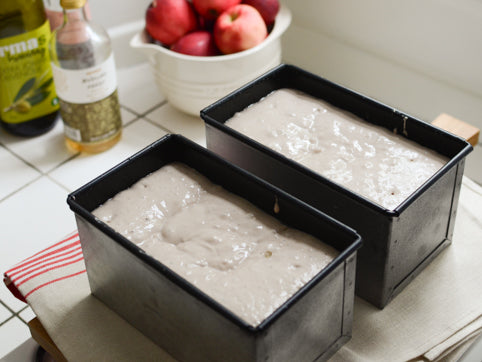
This a great recipe even for a novice bread baker. It’s incredibly easy and virtually fail safe. It’s also knead-free. If you have a stand mixer, I recommend using it. But you could definitely mix this by hand simply by beating the dough with a large wooden spoon. The dough will be quite wet, almost like cake batter. Do not fret, that’s the way it’s supposed to be!
I took a shortcut and bought my sourdough starter from a local bakery. I’ve kept it going since then and have been using it for weeks now. If you want to make your own, The Kitchn has simple step-by-step instructions here. (This recipe makes a much bigger batch than you’ll ever need, so I suggest you halve it.) I can also recommend checking out Chad Robertson’s Tartine Bread, which has a full chapter on how to make and maintain your own sourdough starter.
In future, I will try to dial up the amount of chestnut flour for an even more pronounces chestnut flavor. You might also add a tablespoon of honey or maple syrup for a bit of sweetness, though it’s certainly not necessary. Replacing some (or all) of the water with a flavorful dark beer is a sure way to improve any bread. And be sure to report back here if you try any of those options!
How to Make Chestnut Bread
Adapted from a recipe by one of Copenhagen’s foremost bakers, Nikolaj Skytte, published in Danish food magazine Mad & Venner.
9 dl (3 cups + 3 tbsp) cold water
14 g (2 tsp) fresh yeast, OR 7g (2 tsp) active dry yeast *
a scant 1/2 cup sourdough starter
750 g (6 cups) all-purpose flour
250 g (2 1/2 cups) chestnut flour
30 g (1/4 cup) Maldon sea salt**
Day 1:
Pour water into the bowl of your stand mixer fitted with the dough hook, add yeast and stir to dissolve. Add the sourdough starter, both flours and salt and mix on medium speed until the dough is completely smooth (about 8-10 minutes). Brush a large bowl with vegetable oil and transfer the dough to this bowl. Cover and refrigerate overnight.
Day 2:
Brush two loaf pans with vegetable oil and divide the dough between them. Set aside to rise for 2 hours. Meanwhile, preheat the oven to 200 C. Bake the loaves for about 30 minutes.*** Remove from the oven, tip the loaves out of the pans and return them to the oven for another 5-8 minutes to ensure a nice crust all around. Allow the loaves to cool completely on a wire rack before slicing it.****
This bread keeps exceptionally well. Just wrap it in parchment paper and store it at room temperature. It should keep for at least 3-4 days, if not longer.
* I use compressed fresh yeast and haven’t tested the recipe with active dry yeast. The conversion to active dry yeast is based on the excellent Wild Yeast blog, which also has conversion factors for instant yeast.
** You can use any salt in this recipe. The only reason that I specify the brand is that it is made up of unusually large, craggy flakes, so if you measure by volume it is not interchangeable with regular table salt, kosher salt og rock salt. For details on different types of salt and their volumes relative to weight, check out this comprehensive article on Serious Eats.
*** Many bread recipes recommend the use of steam to improve the texture and look of the crust. Unless you have a professional-grade steam oven, an easy way to do this is to set an extra baking sheet below the wire rack as you’re preheating the oven. Once you place you loaf pans in the oven, simply toss half a cup of water into the hot baking sheet and immediately close the oven door. The water will evaporate right away, creating enough steam to give your bread a beautiful glossy crust.
**** If I add any more footnotes to this recipe, it will start to look like a David Foster Wallace essay.


